
Sitecore Razl
Connections
Razl allows you to create connections to instances of Sitecore and view the differences in between the instances side-by-side.
Creating a Connection
Before connecting to a Sitecore instance a connection has to be created. To create a connection the URL of the Sitecore instance and the name of the Sitecore database (master, web, core) must be known. The developer will also need access to either file system the instance is on or to the Sitecore CMS Desktop.
To communicate with the Sitecore server Sitecore Razl installs a web service in a directory called _CMP beneath the root of the Sitecore website. There options to install the required files are either directly via the file system or by creating a Sitecore package which is installed on the target server. For Sitecore Razl to work the machine that Sitecore Razl is on MUST be able to communicate to the Sitecore server over HTTP or HTTPs.
Once a connection has been created it is saved so that the details do not have to be re-entered.
Creating a Connection using Direct Connection
If the machine Sitecore Razl is running on has access to the Sitecore web root via the file system then it is recommended to use this installation method:
-
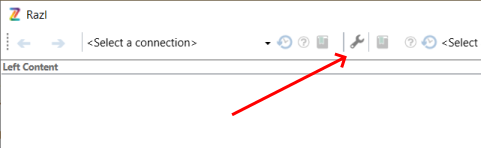
Click the Connection Manager button in the toolbar (see the Toolbar section for an image of the button)
-
Next click the Add button in the lower left side of the Connection Manager dialog.
-
The connection wizard will appear.
-
Enter a name into the Connection Name field:
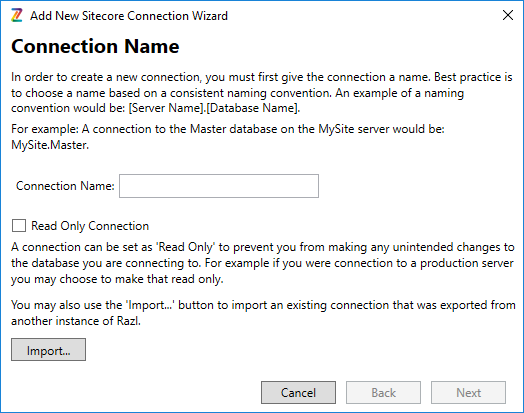
The screen also gives the option of making the connection read only, this means that items can not be written or deleted from this Sitecore server. This option is highly recommended for scenarios where the Sitecore server is a live instance. This will help prevent any accidental updates of the live server data.
Click Next -
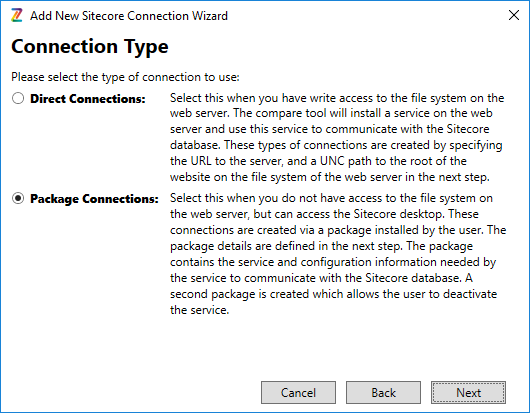
The next screen will ask what type of connection to use, select Direct Connection:
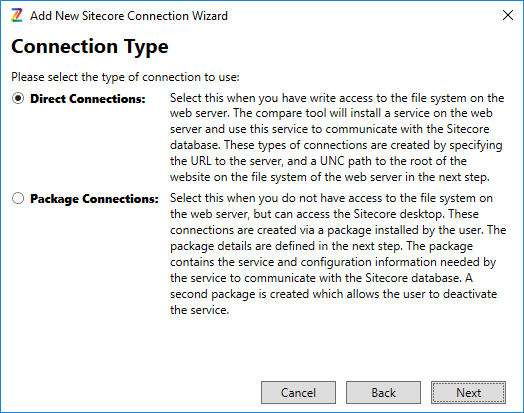
Click Next -
Enter the connection details for the server, enter the URL to server (this can be HTTP or HTTPs) and select the path to the web root:
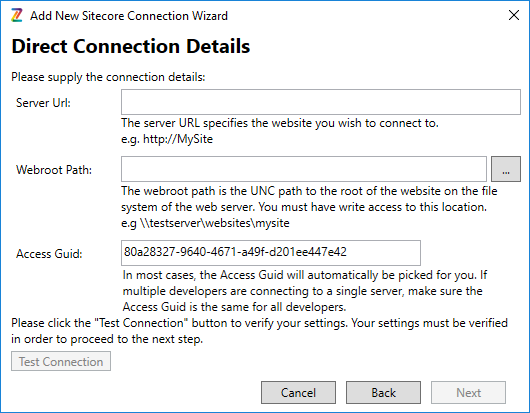
You may also enter a Guid used to secure the connection. If multiple developers are accessing the instance of Sitecore using Sitecore Razl, you will have to use the same Guid. By default, Sitecore Razl chooses a random Guid for you.
Before clicking Next you will need to test the connection by clicking the Test Connection button. If the test is successful click Next. -
The Multi-Threaded screen allows you to choose the number of read threads and write threads Sitecore Razl will use when copying a large number of items.
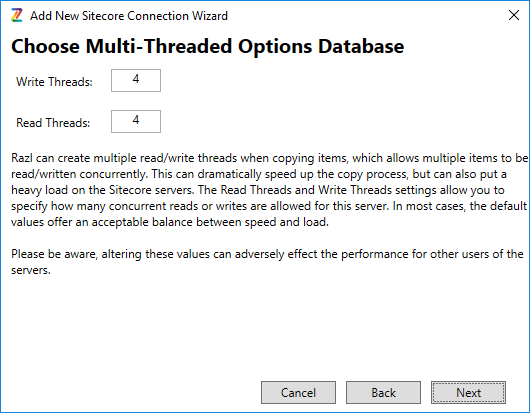
Choosing a large number of threads could cause performance problems on the server(s) you are working with. The default of 4 threads is a good balance between performance of the copy operation and server load. Choosing numbers greater than 15 is unlikely to yield performance benefits. -
On the next screen select the Sitecore database to use with this connection:
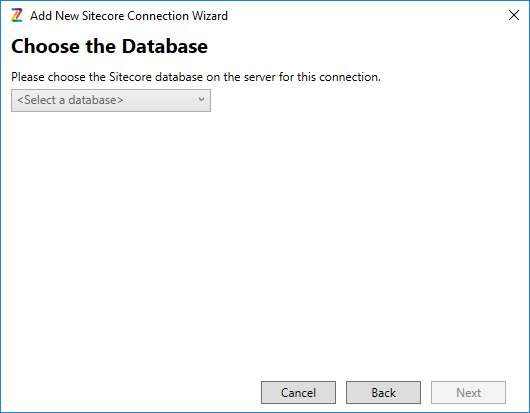
Select a database and click Next. -
The wizard will close and the new connection will be shown in the connection manager dialog:
The new connection will also be accessible in both the left and right connection dropdowns after the connection manager dialog is closed:
Creating a Connection using a Package
If the machine running Sitecore Razl does not have access to the Sitecore web root via the file system then use this installation method:
-
Click the Connection Manager button in the toolbar (see the Toolbar section for an image of the button)
-
Next click the Add button in the lower left side of the Connection Manager dialog.
-
The connection wizard will appear.
-
Enter a name into the Connection Name field:
The screen also gives the option of making the connection read only, this means that items can not be written or deleted from this Sitecore server. This option is highly recommended for scenarios where the Sitecore server is a live instance. This will help prevent any accidental updates of the live server data.
Click Next -
The next screen will ask what type of connection to use, select Package Connections:
Click Next -
Enter the connection details for the server, enter the URL to server (this can be HTTP or HTTPs):
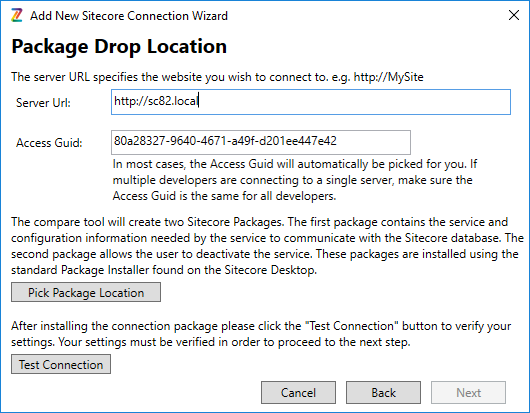
Clicking Pick Package Location will open a dialog that will save the Sitecore package to disk. This package will need be deployed to the Sitecore solution. Save the zip file to a convenient location on the computer. Install this package on the target Sitecore instance and after installation click the Test Connection button. If the test is successful click Next. -
The Multi-Threaded screen allows you to choose the number of read threads and write threads when copying large amounts of items.
Choosing a large number of threads could cause performance problems on the server(s) you are working with. The default of 4 threads is a good balance between performance of the copy operation and server load. Choosing numbers greater than 15 is unlikely to yield performance benefits. -
On the next screen select the Sitecore database to use with this connection:
Select a database and click Next. -
The wizard will close and the new connection will be shown in the connection manager dialog:
The new connection will also be accessible in both the left and right connection dropdowns after the connection manager dialog is closed:
The Connection Manager
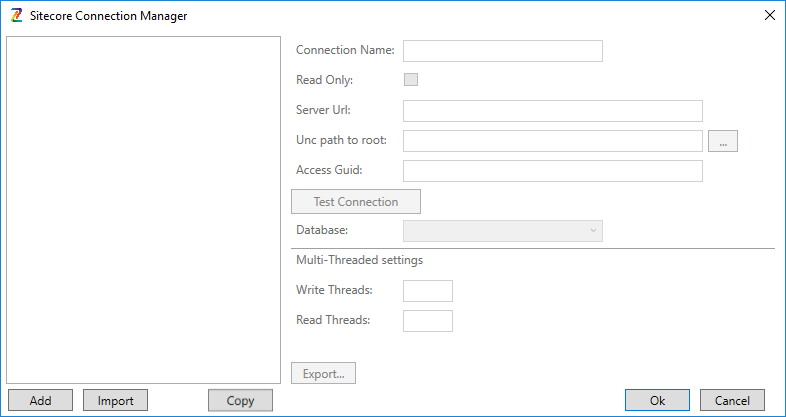
The connection manager allows the user to view and edit all of their connections in one place. Opening the connection manager is done by clicking the connection manager button in the toolbar:
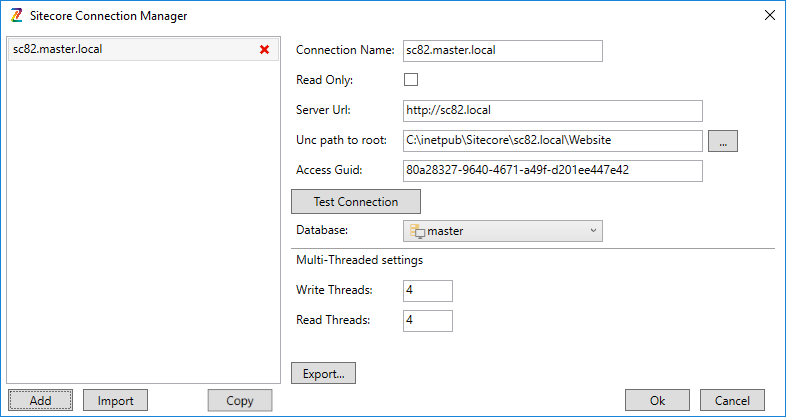
When the connection manager opens, it will display a screen with all known connections listed on the left and the details of each connection shown on the right.
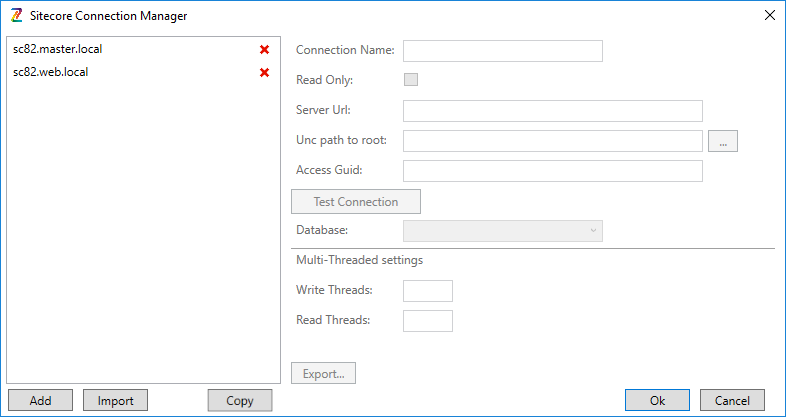
Clicking on a connection on the left will select it and display its properties on the right.
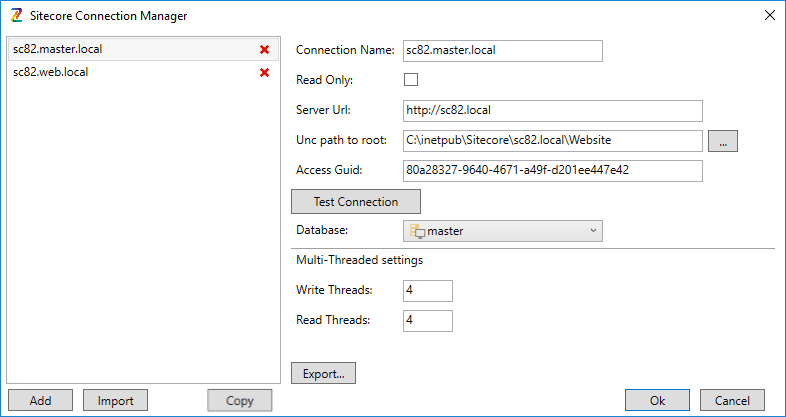
Any of the fields in the connecton can be updated and automatically applied to the connection.
Using the Connection manager
The fields in the connection manager have the following function:
- Connection Name - The name of the connection shown in the connection selection dropdown and in the connection list on the left.
- Read Only- When checked, the connection is read only, and Sitecore Razl will not update or delete any items from the Sitecore server using that connection.
- Server Url - The url for the Sitecore server. This must be the root of the server. i.e. no path or query strings are allowed.
- Unc Path to Root - This is the path to the webroot in the file system. This can be a local path or a file system share. The user running Sitecore Razl must have write access to the path to instal the Sitecore Razl service. Note: This field is displayed for direct connections only.
- Access Guid - The Guid Sitecore Razl passes to the server on every request to ensure the request is comming from Sitecore Razl. If more than one instances of Sitecore Razl needs access to a Sitecore server, the Access Guid needs to be the same on each instance.
- Database - Dropdown that allows the user to select the Sitecore database for the Sitecore Razl connection. The list of databases in this dropdown can be refreshed by clicking the “Test Connection” button.
- Write Threads - The number of threads allowed to concurrently write items to the database when using the Sitecore Razl bulk copy function.
- Read Threads - The number of threads allowed to read from the database looking for changes when using the Sitecore Razl bulk copy function.
The buttons on the connection manager have the following function:
- Create Packages - Allows the user to select a location for the Sitecore Razl service install and uninstall packages. This button only shows up if the selected connection was created as a package connection.
- Test Connection - Installs the service on the Sitecore server if the connection is a direct connnection and verifies that Sitecore Razl can communicate with the service.
- Export - Allows the user to export the connection information to a file. This file can be imported into another install of Sitecore Razl, duplicating the connection.
- Add - Allows the user to add a connection. Clicking this button will open the connection wizard shown above.
- Copy - Copy a connection to a new connection.
- Import - Allows the user to import a connection from another instance of Sitecore Razl.
- Ok - Accepts the change the user made to the connections in the connection manager.
- Cancel - Reverts all changes made to the connections since the dialog was opened.
Editing a Connection
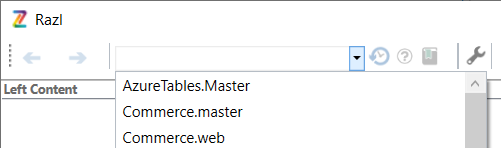
The connection can also be edited right from the connection selection dropdown:
- Click either the left or right connection drop down
- Click the pencil icon that is next to the connection you want to edit:
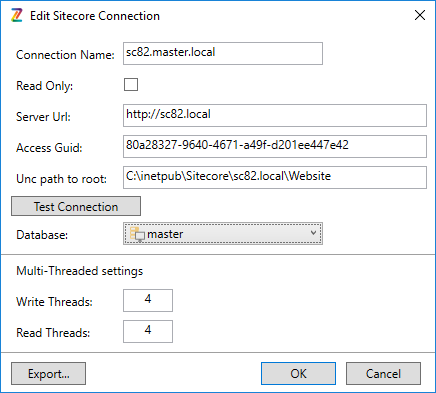
- The edit connection screen will appear, you will see different edit screens depending on the connection being used. For Direct Connections you will see:
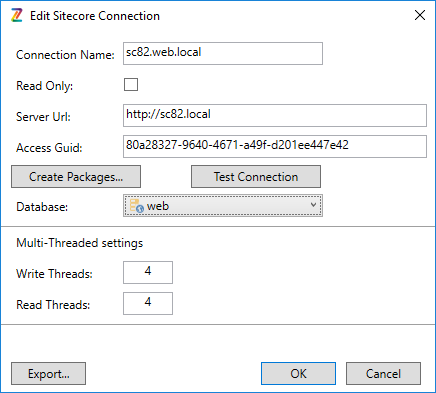
For Package Connections you will see:
In either case, the Export button will allow you to export your connection so it may be used by other developers. - If you make any changes you must click Test Connection before you can save the settings.
- Update the settings you want to change and click Ok.
Connection Information
Beside each connection in the toolbar is the connection info icon, when hovering over this icon information about the current connection will be displayed:
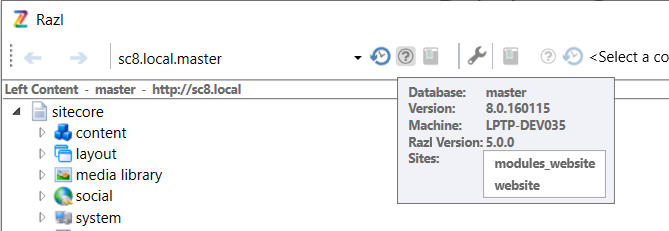
The following information is displayed:
- Database - The database the connection uses
- Version - The Sitecore version number
- Machine - The name of the machine hosting the Sitecore instance
- Razl Version - The version of the web service used by the connection
- Sites - A list of sites available on the Sitecore instance
Importing and Exporting connections
Sometimes multiple developers would like to connect to the same instance of Sitecore using Sitecore Razl. A developer can now export a connection to Sitecore to a file. This file may be imported into another developers instance of Sitecore Razl so the connection settings are shared between the developers. Please note, both developers need to be running the same version of Sitecore Razl.