
Avtor

Introduction
Avtor needs to be installed in Sitecore by an administrator using the Sitecore Update Installation Wizard tool. This document will demonstrate how to choose the correct version of Avtor to install and how to install it on a Sitecore server.
Choosing the right package
Avtor is compatible with Sitecore 8.0, 8.1, 8.2 and 9.0. Each major release of Sitecore has its own Avtor installation package, so it is very important the correct package is installed on the Sitecore server. The Avtor update packages are distributed in a .zip file and are named:
Hedgehog.Avtor_8.0.update
Hedgehog.Avtor_8.1.update
Hedgehog.Avtor_8.2.update
Hedgehog.Avtor_9.0.update
The Sitecore version number is part of the filename of the update package and specifies the Sitecore major release the package is designed to be installed on.
Installing Avtor
Avtor is installed using the Sitecore Update Installation Wizard. Access to the wizard is limited to Sitecore Administrators, so administrator credentials are required to install AVtor. When installing on Sitecore 8.0, 8.1 and 8.2, the user must manually enter the url for the Update InstallationWizard after logging in as an admin. Sitecore 9.0 and above have made this process a bit easier by adding links to the admin tools in the Sitecore control panel. Please see the section below for step-by-step instructions for your version of Sitecore
Sitecore 8.0, 8.1 and 8.2
- Log in to Sitecore as an administrator.
- Open a new browser tab and browse to the url http://[server]/sitecore/admin/UpdateInstallationWizard.aspx
- Click “Choose a package”
- Click “Browse” to select the update package and then click “View package information”
- Click “Analyze and install the package”
- Click “Install”
- When the package is done installing, click “Installation result” to view the results of the installation
9.0
- Log in to Sitecore as an administrator
- Click “Control Panel” on the launch pad.
- Click “Administration tools” under “Administration”
- Click “Update Installation Wizard” under Auxilary
- Click “Select a package”
- Click “Browse” to select a package and then click “Package information”
- Click “Analyze the package”
- Click “Analyze”
- When the analysis is complete, click “Analysis result”
- Click “Apply and install package”
- When the package is done installing, click “Installation result” to view the results of the installation
Installing the Avtor License
Avtor licenses are installed using the Avtor license manager application. This application is found on the desktop “Start Menu” for an administrator. Please note, when installing an Avtor license, the browser being used to access Sitecore must also have access to the internet so the license can be validated.
- Log into Sitecore as an administrator
- Click on “Desktop” on the launch pad
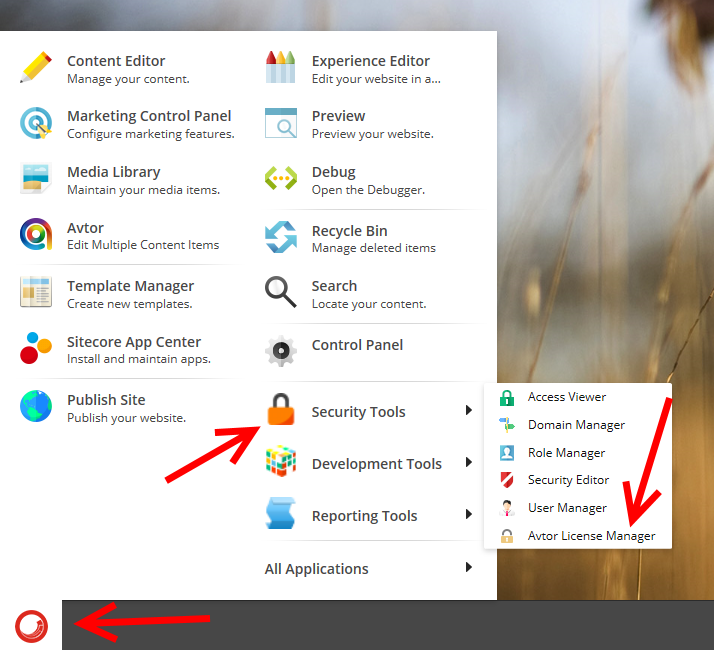
- Open the start menu and select Security Tools > Avtor License Manager
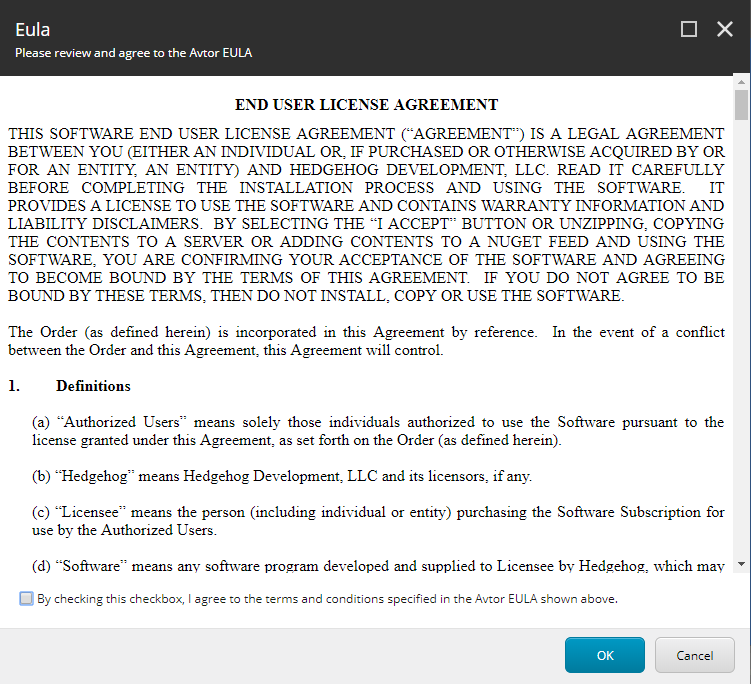
- You will be required to accept the Avtor License Agreement before you can begin. Please read the license agreement and check the box at the bottom and click OK to continue.
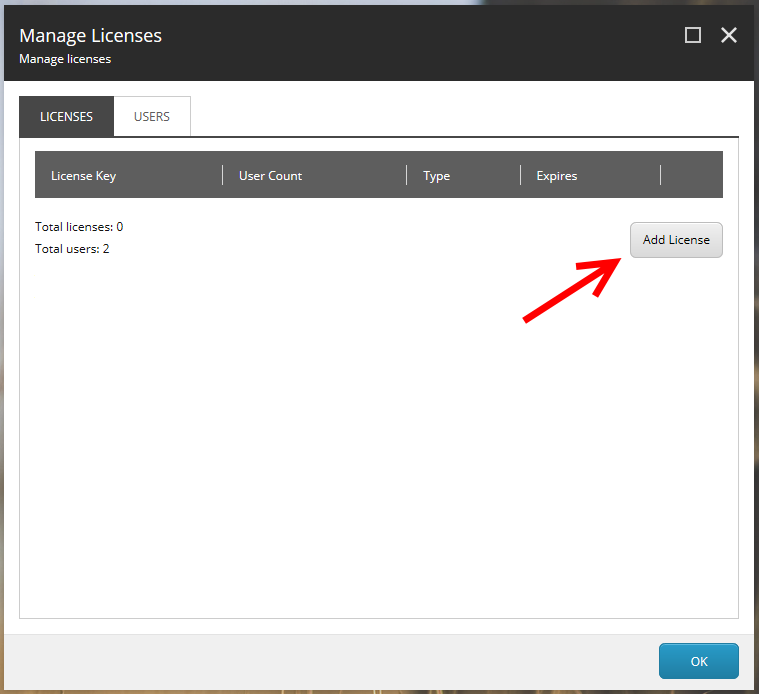
- Click “Add License”
- Enter your license key in the popup and click “OK”
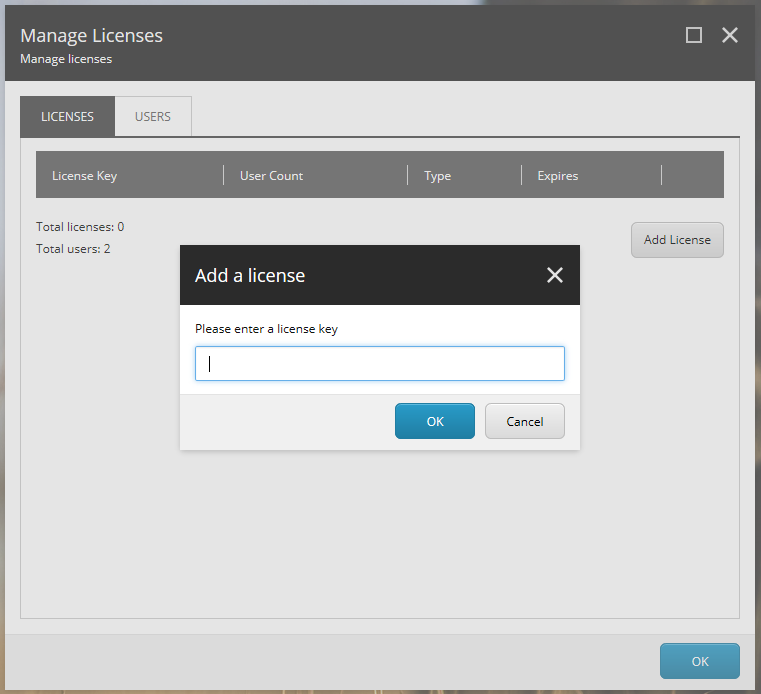
- The license will be validated and the number of users and expiration date will be filled in on the dialog.
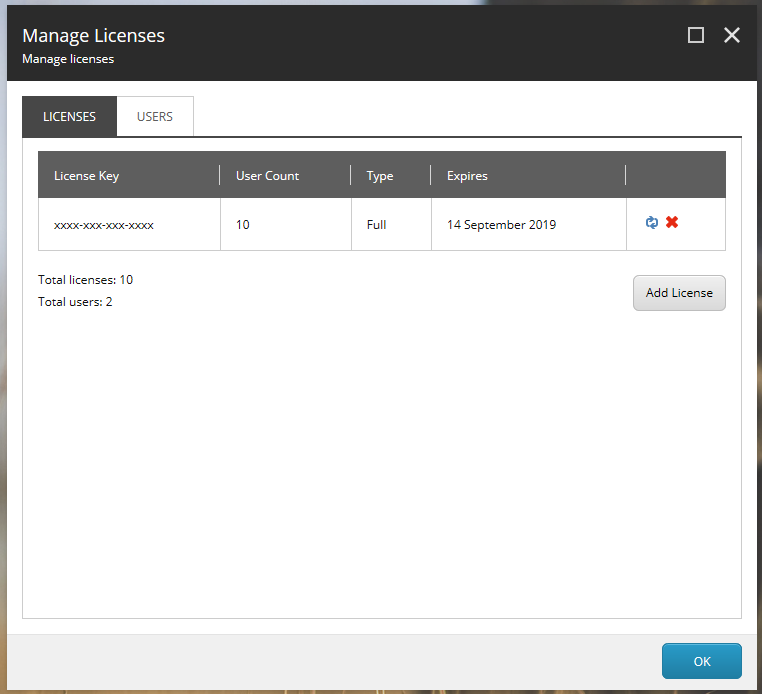
- Click “OK” to close the dialog
Your content editors are now ready to start using Avtor.
Please note: Users are added to Avtor automatically as they start using Avtor. The number of users in you organization allowed to access Avtor is specified in the Avtor license. Once the number of users with access to Avtor reaches the number of users specified by the license, no additional users will be allowed to use Avtor. For more information, please see the documentation for the license manager.